Pages

Showing posts with label tutorial. Show all posts

Monday, January 28, 2013

DIY Gold Elephant

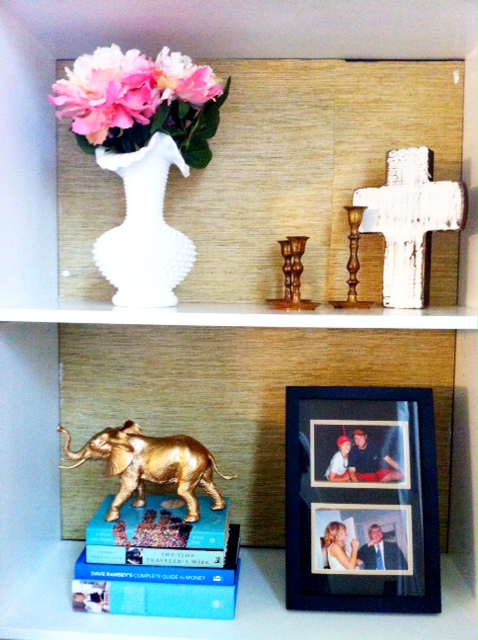
Happy Monday!  These metallic toy animals have been making their way around the blogosphere and I couldn't pass up making one for our bookcase when I saw this gray toy elephant (Roll Tide!) in the checkout aisle at Joann's...


It seemed like an easy project (and it is!), so I scooped up my supplies and went to town!

Here's what you'll need:


  • 1 plastic toy animal
  • white primer spray paint
  • metallic gold spray paint
  • clear acrylic sealer


Instructions:

Begin by priming the toy on all sides.  I found it best to put the toy on its back and spray with primer.  Then once that has dried, turn the toy on one side, then the other and finally place it in the standing position making sure that it is dry in between movements.  Once you have done one coat of primer, repeat the previous steps with a second coat of primer.

Repeat the application process with the gold spray paint, doing two coats.

Repeat the application process with the clear acrylic sealer, doing just one coat.  Let it dry completely and you're done!


I'm sure this sweet little elephant will enjoy moving around the house every month when I compulsively redecorate.  He looks like the type that likes to travel.


Here's to hoping this week isn't as hectic as last week!

Tuesday, December 11, 2012

DIY Wooden Name Sign


A few weeks ago I decided to paint a sign for our foyer to give it a more personal touch.  A few years ago I made a sign for my sweet friend Miranda, but never got around to making one for myself!  So, a lazy Saturday presented itself and I drug out the paint and went to town.

Here is what you will need:

  • Piece of wood or an old sign you want to repaint
  • 2 color of acrylic paint (or any paint will do)
  • Paint brushes
  • Computer and printer
  • Ball point pen
  • Wood stain (optional - I didn't use it on this piece)

Let's get started...

Sand the piece of wood and dust off sanded remnants.  Paint the wood a solid color.  I used a premixed gray acrylic paint I found at Hobby Lobby.  You may need to do two coats depending on your paint color.  Let it dry completely.

While the paint is drying, print out the letters needed in the font you'd like on your computer.  Place them on the wood where you'd like the wording and trace the outline with a ballpoint pen, pressing down a bit to make an imprint on the wood.

Paint the traced letters with your second paint color.  You may need to do two coats (I did!).  Let that dry and then enjoy your finished work!  If you want a more antique look, try using a wood stain on top of the completely dry paint (I've used Minwax Provincial 211 in the past).  Wipe the stain on, let it sit for a few minutes and then wipe it off.  Ta-da!


This would be a great gift for a friend or newly married couple!  Simple and heartfelt  :)  Hope everyone is having a wonderful week!

Wednesday, July 18, 2012

DIY Monogrammed Coasters


Happy Wednesday!  I am so excited to share this DIY with you all!  Let's get down to the nitty gritty...

Supplies:


  • Bathroom or kitchen tiles (found these at $3.95 for 9 tiles, but there are definitely cheaper ones out there)
  • Mod Podge
  • Clear Acrylic Sealer (I used Krylon's Crystal Clear in the gloss finish)
  • Paper and a color printer (or you can use scrapbook paper)
  • Sponge brush
  • Felt rounds
Step 1:  Measure your tiles and determine how large you would like the paper to be.  My tiles measured 4" X 4" so I made each of the monogrammed papers approximately 3.5" X 3.5".  I found fabric online and simply saved the image - ta-da!  Then I just put my monogram on top of the picture.  I chose 3 prints and printed off 3 copies of each.  Cut the paper to the appropriate size and set aside.


Step 2:  With the sponge brush, brush on one coat of Mod Podge.  Place the monogrammed paper on top and gently smooth your fingers over it with a very small amount of pressure.  Let it dry completely for at least 30 minutes.


Step 3:  Brush on 3 coats of Mod Podge over the monogrammed paper, allowing it to dry completely between each application.


Step 4:  After the Mod Podge has dried, apply one to two coats of the clear acrylic sealer.  After the sealer has dried, apply the felt rounds to each corner.


Step 5:  Voila!  You're done!  Let them dry over night and tomorrow you can enjoy your new coasters!


This has got to be one of the easiest DIY's I've done and it was inexpensive to boot!  This would be perfect as a house warming gift, Christmas gift or even a birthday present.  Hope y'all enjoy it!  It was a fun, simple and the end product was lovely!

Wednesday, September 8, 2010

DIY Jewelry Holder Tutorial!

I have tons of jewelry and a lovely jewelry box to hold it all in (thanks to the boyfriend),
but it recently started to get a bit crowded in there so I decided I would make
a jewelry holder for my "play" jewelry and keep my nice stuff in the pretty jewelry box :)


I decided to go with a cheery yellow for mine!  I wanted to add a bit of color to my
neutral bathroom and thought this would give it the "pop" that I was going for!

Here is what you'll need to make one of your own:

                                 - Large picture frame (Remember when I got mine for $1 ?)
                                 - Chicken wire or garden wire (mine was $8 for 5 feet of wire)
                                 - Staple gun
                                 - Wire cutter

Instructions:

1.  After you've painted your picture frame the color of your choice, take your
chicken/garden wire and using your wire cutter cut the wire so that there is
excess wire to staple down on the sides of the frame.


2.  Staple the wire down to the back of your frame like so...
I stapled mine about every 4 inches to make sure it was secure.
Except for in this picture when I went a little staple crazy :)


(disregard the paper that accidently got stuck to the back of the frame!)


3. Take a look at your new jewelry holder!  Yes, it was that easy!!


Oh, and what do we have here? Could that be my new stella & dot earrings?


Why yes it is!  And don't they look adorable?


I can't wait to put my new jewelry holder to good use!
Just look at all the earrings, necklaces and bracelets I can fit on here!


Okay, one last shot of my sweet earrings I won :)


I hope everyone is enjoying this short work week!  I know I am!
Even though I have to work on Saturday...ugh!
Oh well...I don't want to think about that yet!

I want to send a big thank you to all my sweet and wonderful
readers who leave the nicest and most sincere comments.
Y'all are the BEST! :)


Monday, August 30, 2010

No Sew Birthday Bunting Tutorial!

It has been killing me not to share this tutorial with y'all!
I did this project over a month ago, but since it was for the boyfriend's birthday
I had to keep my mouth shut about it - and we all know how hard that is for me!!


HAPPY BIRTHDAY TO MY MISTER!!!


If you have someone's birthday coming up this is such a sweet and simple
way to add a little bit of a personal touch to the decorations :)

Here are the supplies & materials you will need:


1.  A ruler or straight edge
2.  Computer (and printer!)
3.  Ribbon
4.  Hot glue gun
5.  Felt (I used the stiff kind)
6.  Disappearing ink pen
7.  Scissors

Instructions:

1.  Bunting - Take your felt that will be used as the actual bunting and
the straight edge and mark the outline of the triangle for the bunting.
I made mine 6 inches long on the shortest side.


2.  Letters - After you've cut out each triangle (there should be 13 total)
you'll want to work on the letters.  On your computer choose the
font you'd like.  I chose this font on DaFont.


After you've printed out each letter you will need to cut each letter out.
Then trace it onto the color felt you chose for the lettering.


Cut out each letter.


Ooooooo pretty! Ok, sorry I got carried away looking at the cute letters!
Take your adorable little letters and hot glue them to each of your triangles.


3.  Ribbon - Take your ribbon and decide how much space you want in between
each piece of bunting.  I chose to put 2 inches.  Hot glue the ribbon in place
leaving a little bit of ribbon on each end of the bunting to hang it.


 and...


You've done it!
Now how easy was that???


I hope everyone had a great weekend and is off to a fantastic Monday!
Any exciting plans this week?


Tuesday, August 24, 2010

Flower Headband Tutorial!

A few nights ago I was trying to figure out what to wear to work the next day.
Sometimes it is such a tedious task!
Why can't I just have everything from the J. Crew catalog?
After going through a few different options I came to the
conclusion that my outfit needed a little something extra...


AHA!  A headband of course!
So, let's see what you need to make one for yourself!

Supplies:


 1.  Hot glue gun (& extra glue just in case!)
2.  Thread
3.  Needle
4.  Scissors

Materials:


1.  Fabric of your choice
2.  Felt in a coordinating color
3.  A plain headband

Instructions:

1.  Take the felt and cut out the shape of your choice.  You will need to
cut out 2 of the same shape.  The first one will be used for the base of your
fabric flowers and the second will be used to hide the underside of the first.


2.  You will need to cut out approximately (26) 2" squares from
your fabric.  These will be used to make the fabric flowers.  You can use
as many or as little fabric flowers as you want to get the look you want!


3.  Cut the corners of your fabric squares so that your squares have rounded corners.
It doesn't have t be perfect!
Like so...


4.  Take one fabric square and pinch the center like this:


5.  Take a second fabric square and pinch it over the first fabric square.
Now you'll have two fabric squares pinched giving it a layered look.


6.  Taking your needle and thread, run it through the pinched portion of your
fabric flower so that is stays in place.  I ran mine through 2-3 times per flower.


7.  After you've repeated steps 4 - 6 with all of your fabric squares
you will now need to attach each fabric flower to one of the
pieces of felt.  Use your needle & thread to do so...


8.  After you've attached each flower to the first piece of felt you will
need to hot glue the underside of the felt to your headband.  It helps
if you figure out exactly where you want the flower bunch to be placed
before you actually start glueing!  Then attach the second felt piece as shown:


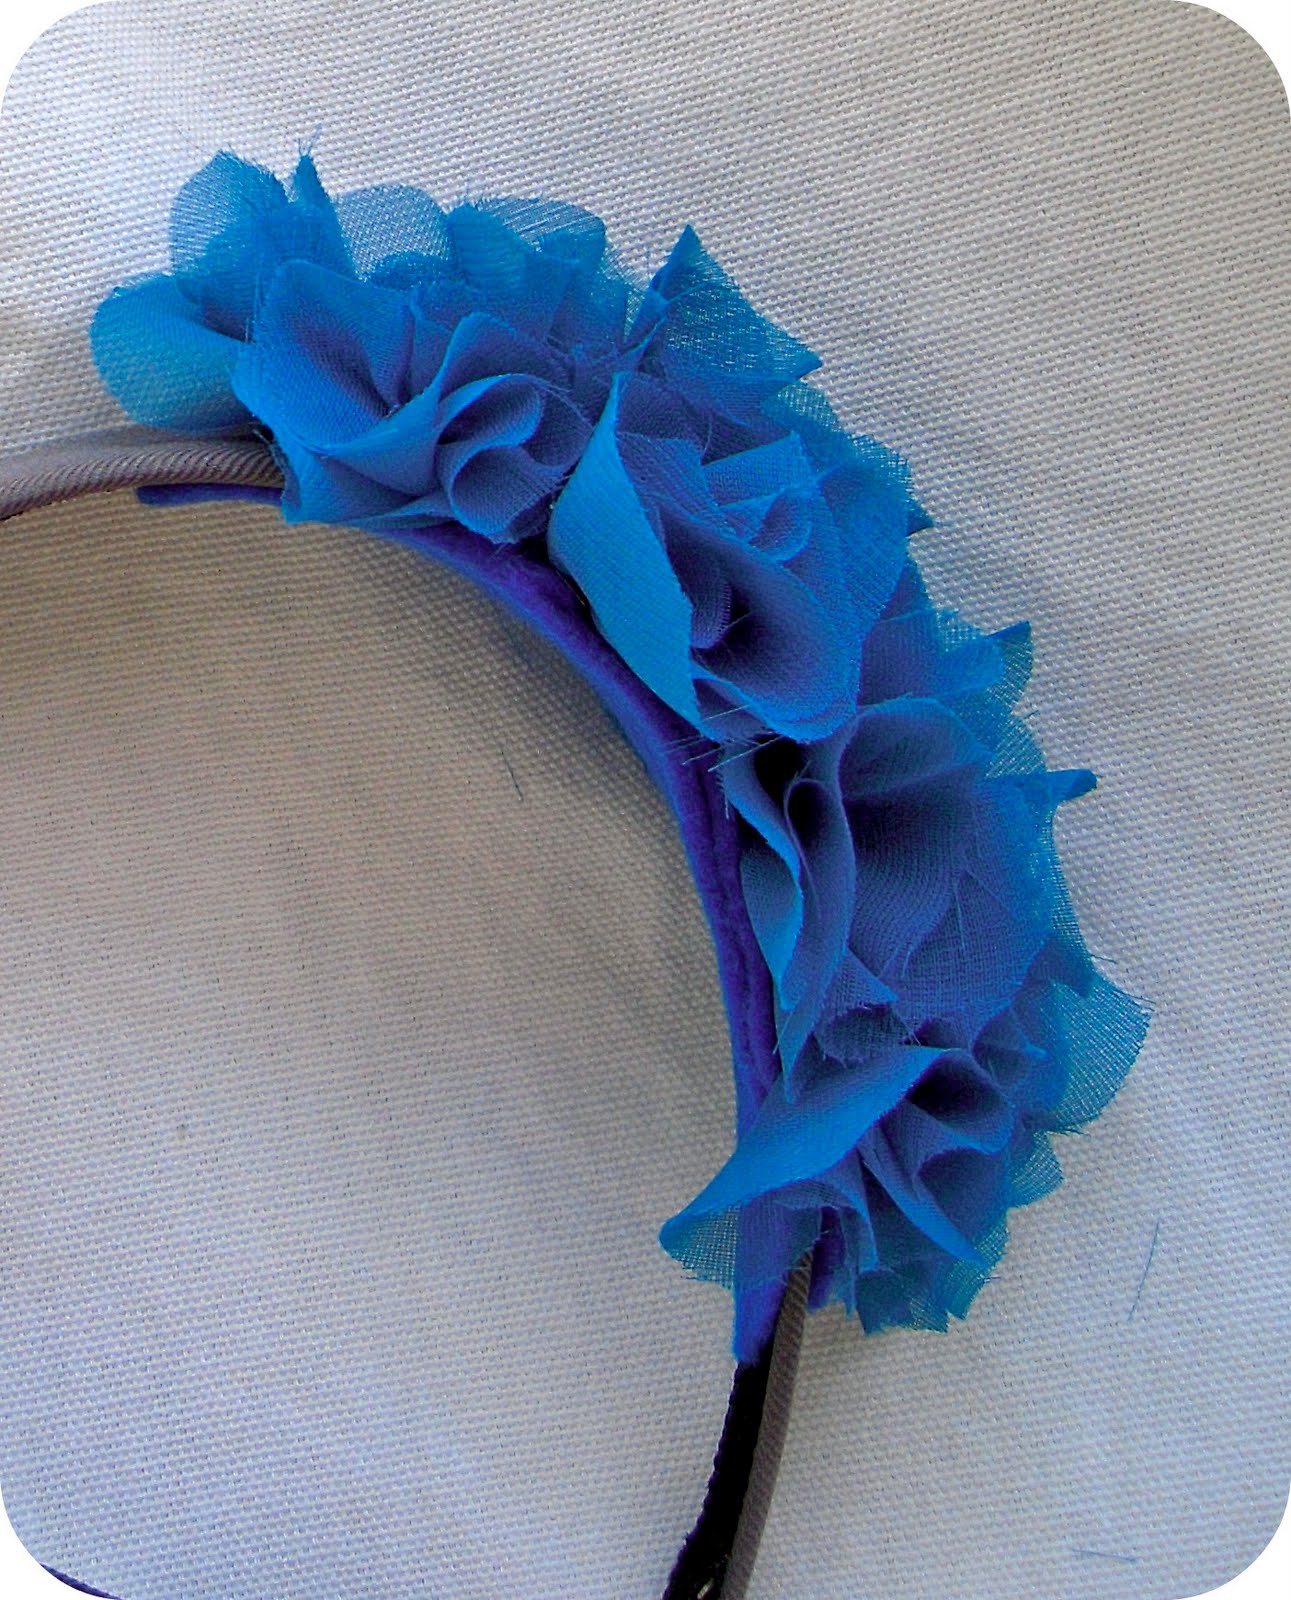
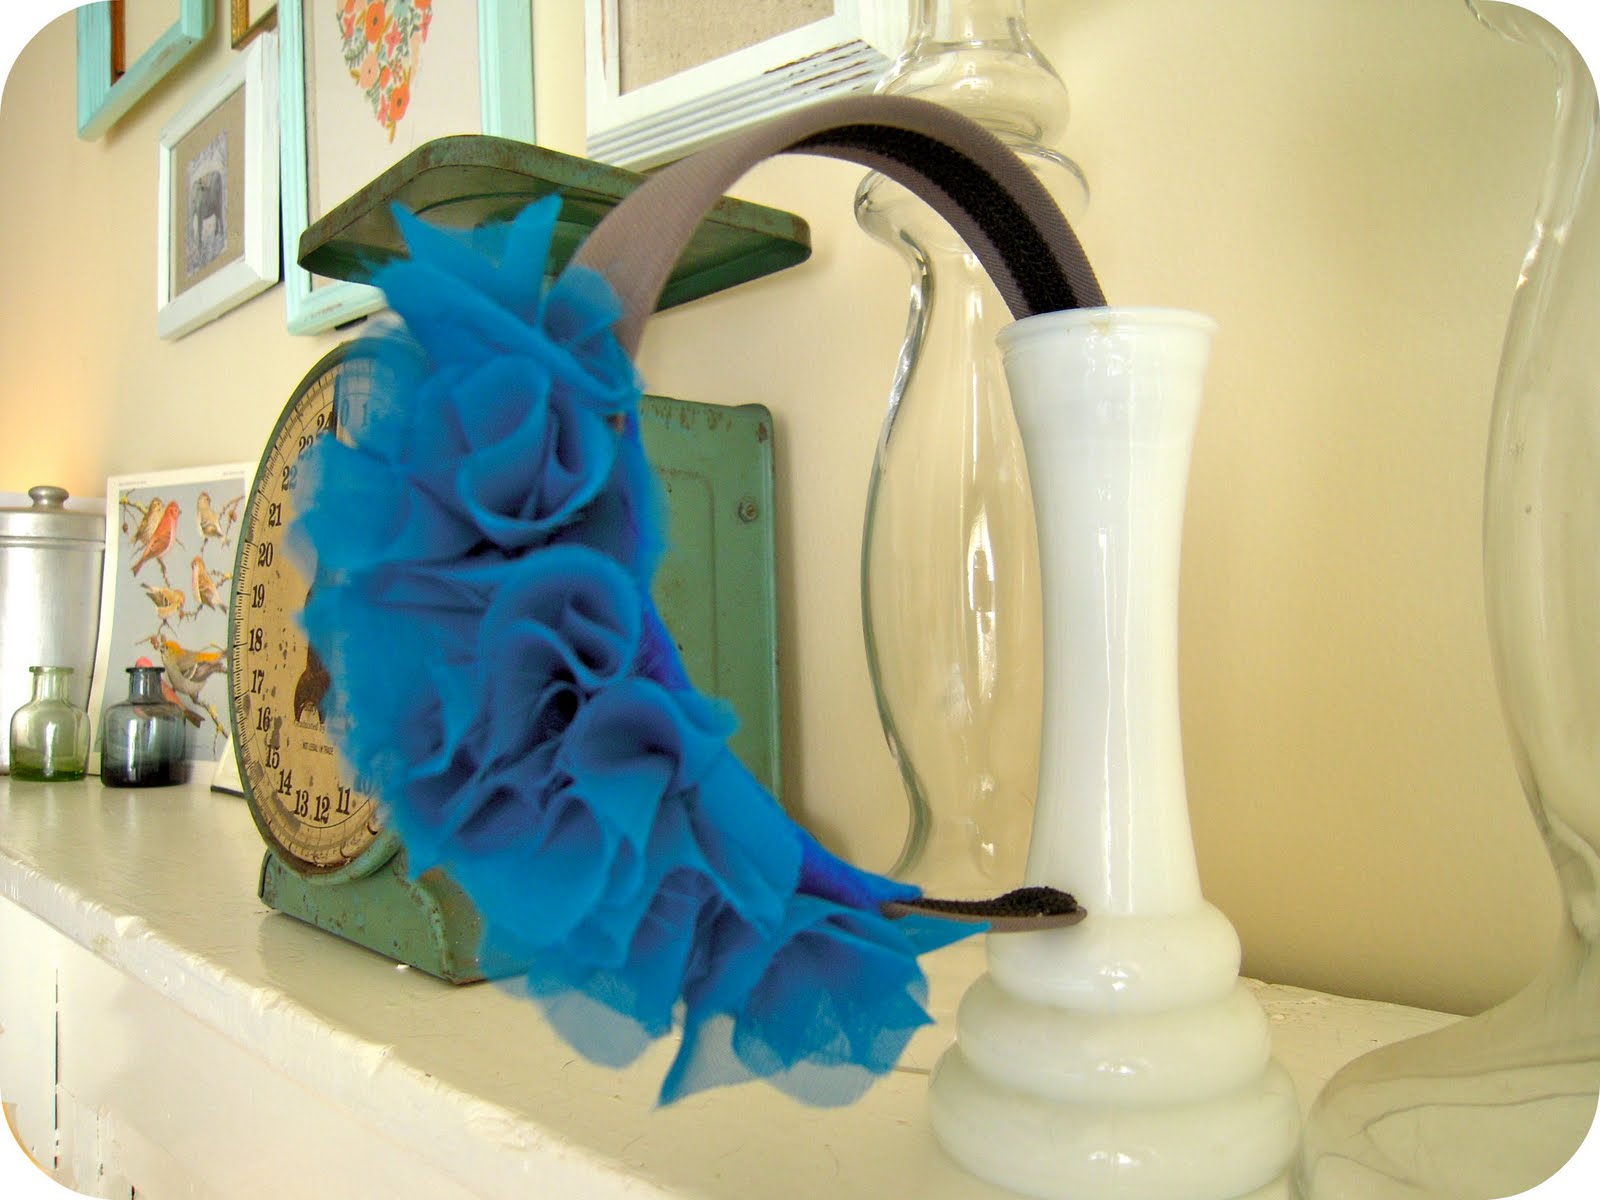
And you're done!
Now, how easy was that?!?!


I hope you all enjoyed this tutorial!
If you do this tutorial please send me pictures!  I'd love to see your work!

Tomorrow?  DIY Jewelry Holder!
Happy Tuesday!  :)